Track your back progress with practical measurement and posture tools, clear workout tips, and recovery strategies to build strength and improve posture.
Table of Contents
Track Back Progress: Measurement & Posture Tools
Tracking back progress can feel overwhelming, but with the right tools and habits you’ll see real improvements in strength, posture, and confidence. Whether you’re focused on muscle growth, better posture for desk work, or improving your deadlift and row numbers, simple measurement techniques and posture tools make progress visible and motivating. This guide walks you through practical tracking methods, workout tips, and recovery strategies so you can measure what matters and keep moving forward.
Why Track Your Back Progress?
Tracking isn’t just about vanity photos. It’s about measuring strength gains, seeing posture improvements, and validating the consistency of your workout routines. When you track smart, you can apply progressive overload, tweak technique, and avoid plateaus in muscle growth and functional strength.
Good tracking helps with recovery planning and keeps you accountable—two pillars of long-term success in strength training and fitness.
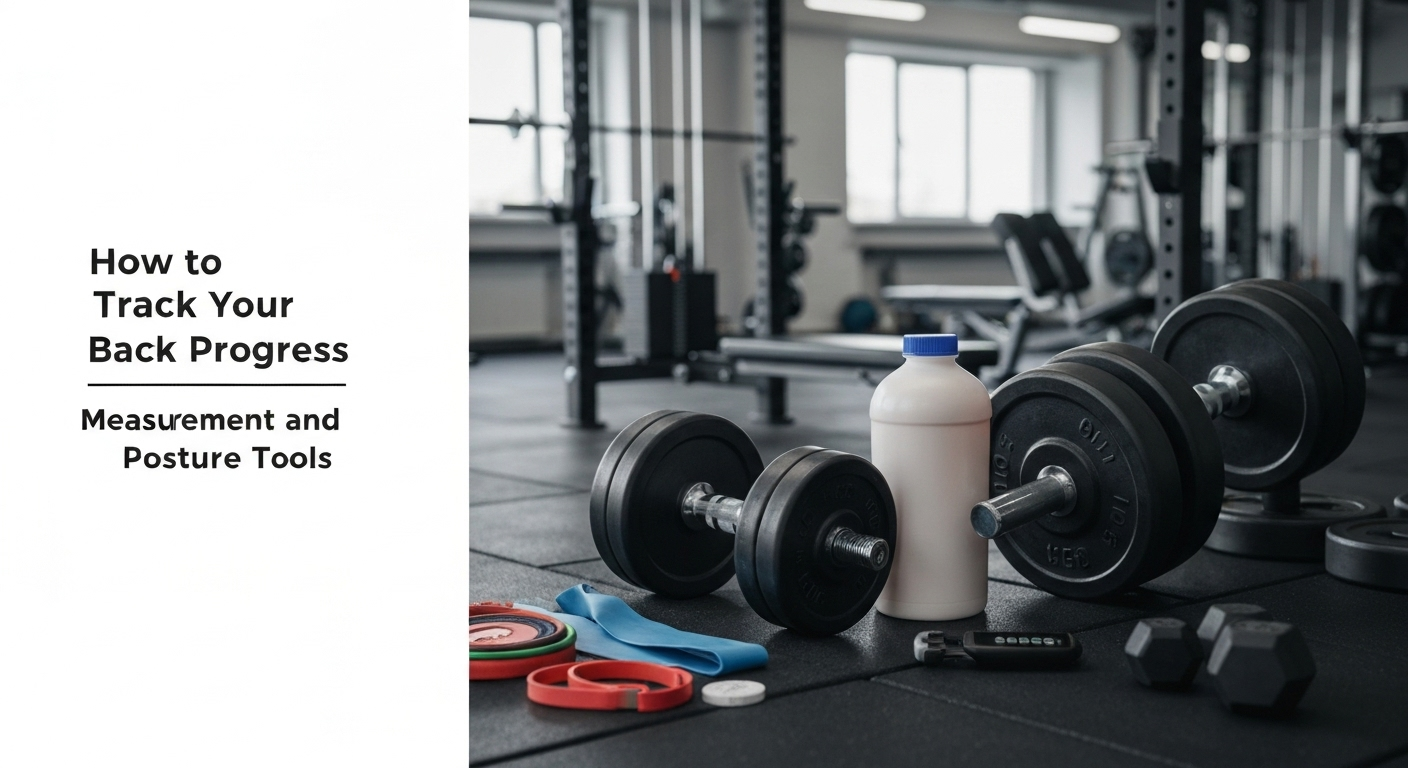
Measurement Tools for Your Back
Use a combination of simple tools and consistent tests to get a full picture of your back progress. These tools are inexpensive, easy to use, and give objective data you can compare week-to-week.
- Smartphone Camera — Take front, back, and side photos in consistent lighting, posture, and clothing. Compare monthly to assess posture and muscle shape changes.
- Measuring Tape — Track upper-back or lat width by measuring chest and upper-hip circumference; changes in these numbers can reflect muscle growth when paired with body composition tracking.
- Video Analysis — Record lifts (deadlifts, rows, pull-ups) to analyze form and bar path. Slow playback reveals rounding, scapular motion, and hip hinge quality.
- Posture Tools — Use a posture corrector for short intervals, a wall test, or a smartphone inclinometer app to measure thoracic angle and shoulder position.
- Strength Logs — Track sets, reps, weight, and perceived exertion. Over time, this shows progressive overload and strength trends.
How to Take Consistent Photos
Consistency makes photos useful. Stand in the same spot, wear similar clothes, use good lighting, and maintain a neutral posture. Date-stamp or store images in a dedicated folder so you can compare side-by-side every 2–4 weeks.
Posture Assessment and Improvement
Posture matters for aesthetics and injury prevention. Regular assessments help you spot forward shoulders, thoracic rounding, or uneven scapular positioning and give you targets for corrective work.
- Wall Test: Stand with heels and back against a wall—see if your head, upper back, and sacrum touch comfortably. Use this to monitor thoracic mobility.
- Scapular Check: In front of the mirror, perform shoulder retractions and protractions. Note symmetry and control.
- Inclinometer Apps: Measure forward head angle and thoracic curvature over time to quantify improvement.
Workout Routines and Exercises for Back Strength
Build a balanced routine that targets lats, traps, rhomboids, erector spinae, and rear delts. Turn measurement insights into targeted workouts.
- Pull-ups or Assisted Pull-ups — Great for lat width and overall upper-body strength.
- Bent-Over Rows (Barbell or Dumbbell) — Focus on full range and a controlled eccentric for thickness.
- Single-Arm Dumbbell Row — Fixes side-to-side strength imbalances.
- Deadlifts or Romanian Deadlifts — Train posterior chain strength and posture under load.
- Face Pulls and Reverse Flyes — Improve upper-back posture and shoulder health.
Sample Back Workout (Strength + Hypertrophy)
- Deadlift variation: 3–5 sets x 3–6 reps (strength focus)
- Pull-ups: 3 sets x max reps or assisted reps
- Bent-over rows: 3–4 sets x 6–10 reps
- Single-arm row: 3 sets x 8–12 reps per side
- Face pulls: 3 sets x 12–15 reps (rehab and posture)
Progressive overload is the core of muscle growth and strength. Increase reps, sets, or load gradually and log every session in your strength log.
Tracking Strength and Progressive Overload
Use a workout journal or app to record weight, reps, and how a set felt. Small, consistent increases matter more than occasional big jumps. If a lift stalls, revisit form, volume, and recovery.
- Increase weight by small increments when you hit target reps with good form.
- Use RPE (rate of perceived exertion) to judge intensity and avoid overreaching.
- Deload every 4–8 weeks or when performance dips—lower volume or intensity to recover.
Read also: “Calorie & Macro Calculator”
Recovery Tips for Better Back Gains
Recovery is where gains happen. Plan sleep, nutrition, and mobility work into your routine so the back muscles repair and grow stronger. Recovery also protects posture and reduces soreness.
- Sleep 7–9 hours for optimal recovery and muscle repair.
- Prioritize protein and balanced macros to support muscle growth and recovery.
- Include mobility drills: thoracic extensions, band pull-aparts, and hip hinge practice.
- Use active recovery: light rows, walking, or mobility sessions between heavy days.
Tools to Aid Recovery
Foam rollers, lacrosse balls, and resistance bands are inexpensive tools that help tissue quality and scapular control. A targeted stretching routine after training keeps thoracic mobility healthy.
Putting It All Together: A Simple 8-Week Tracking Plan
Create a measurable plan that combines workout logging, photos, and posture checks. Here’s a starter framework you can customize.
- Week 0: Baseline photos, posture test, 1RM or working set baseline, and tape measurements.
- Weeks 1–6: Follow a progressive back routine, log every session, and do mobility work twice weekly.
- Every 2–4 weeks: Update photos and posture measurements, adjust loads based on strength log.
- Week 8: Re-assess photos, measurements, and strength tests to evaluate progress and set new goals.
Conclusion
Tracking back progress doesn’t require fancy equipment—consistency, good photos, a simple tape measure, and a solid strength log will reveal real gains. Combine posture checks with progressive overload, targeted workouts, and smart recovery to keep improving. Start today: take baseline photos, log one week of workouts, and use a tool like the calorie & macro calculator to support your nutrition goals. Small steps, measured consistently, lead to big results.
1 thought on “How to Track Your Back Progress: Measurement and Posture Tools”